How to create and clone projects in Projectworks
This article will guide you through creating a project from scratch and the option of cloning an existing project.
Before you get started:
-
If you are creating a project for a client, you will need to have their details in Projectworks. This is done under the Company tab which you can learn more about this here.
-
If your projects follow the same structure, we always recommend creating a template project for your team to clone. You can learn more about this here.
Creating a new project:
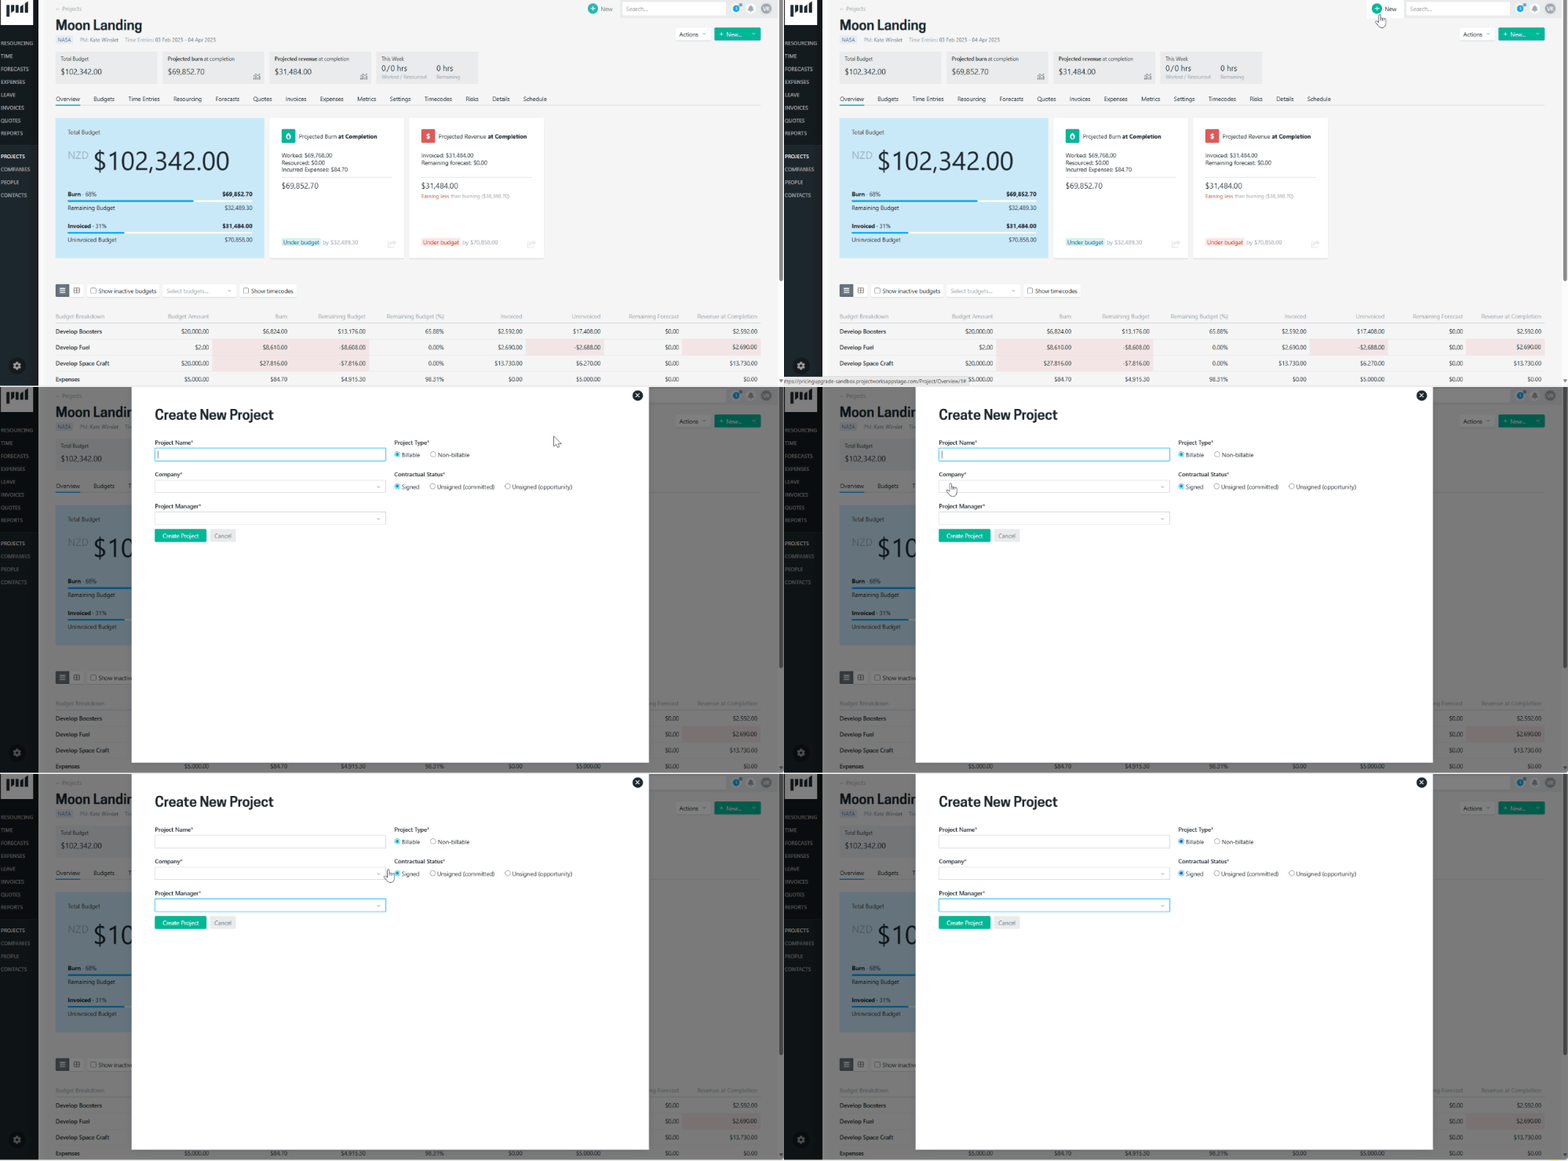
You can create a project anywhere in Projectworks. Click the +New button on the top right side of the screen to create a new ‘Project’. You will then need to:
-
Give your project a name
-
Select the company you are doing the project for
-
Choose your Project Manager (note: only those with Project Manager access will be selectable)

-
Billable: Use when you intend to be raising invoices. Can have forecasts entered and invoices raised. Resourcing and time entries on billable projects are used in overall utilisation calculations.
-
Non-billable: Use for any internal projects you have. There is no ability to enter forecasts or raise invoices. Many of our customers create a non billable "client/account management or BDM" project within their customers which they use to track how much non billable work effort spent on a customer. Work on non billable projects impacts utilisation.
All projects will need to have a contractual status. You can choose how to define each status but we’ve provided some common examples below:
-
Signed: Your customer has formally approved and work, ideally signed a contract or similar. It would suggest there is low commercial risk of having invoices paid.
-
Unsigned (committed): You may choose to use this status when you have received informal approval from your customer (verbal/email etc) or if your management sanction work to start on a project before your customer has indicated they will sign. It suggests some commercial risk of payment of any invoices you raise.
-
Unsigned (opportunity): These are projects which you might just want to get onto your radar. It can be used as a way to include "leads". A suggestion is to create opportunity projects when you want to enter some resourcing and/or forecasting so people are aware of something that might come up. Opportunity projects will let people record time. Invoices can not be raised.
You have now completed all the mandatory fields needed to create your project! You can now:
-
Set up your budget (recommended)
-
Add people to your project
Cloning an existing project:
To fast track creating a project, you can clone an existing project to use as a template. This is a great option if your projects follow the same structure as this method will save you time by creating budget lines and timecodes for you.
When you clone a project, the following details are copied across:
-
Project type
-
Contractual status
-
Budget Names, Budget Types, Fee Types and Accounting Codes (note: fee amounts will not come across)
-
Timecode Names, Timecode Fee Types
To clone an existing project, navigate to the ‘Projects’ tab and select the three dots next to the project you’d like to copy. Choose ‘Clone project…’ from the dropdown:
Note: You can edit any information on the screen that may not be relevant to your project.

After your cloned project is created, you can now:
-
Add people to your project
See Project Cloning in action in the video below.