Using Zapier to Integrate with HubSpot
This article will show you how to build a basic flow to create a Project and Company in Projectworks when a deal is closed in HubSpot, all through Zapier.
Creating a new Project and associated Company in Projectworks when a deal is closed in CRM is one of our most common workflows. While Projectworks does have a native integration with HubSpot, not all of our customers have the appropriate licensing tier in HubSpot that allows them to take advantage of integrations. This example flow is setup using HubSpot but the same logic will apply to other CRMs such as SalesForce, Dynamics, and PipeDrive.
Please note: Some terminology in Projectworks has been updated in the Projectworks application but these changes have not been pushed through to the backend. For the purpose of this article the words "Office" and "Organization" can be used interchangeably. The words "Client" and "Company" can also be treated in the same way.
Step 1: Setup the initial trigger
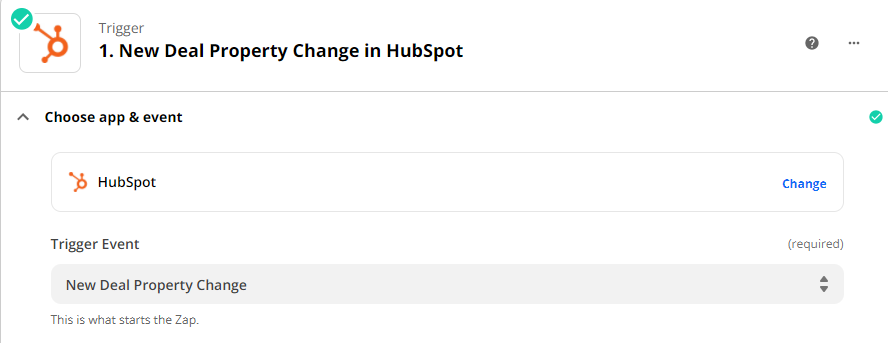
The first step is to create a new HubSpot event "New Deal Property Change".
The next step is to set the trigger Property to "Deal information: Deal Stage".
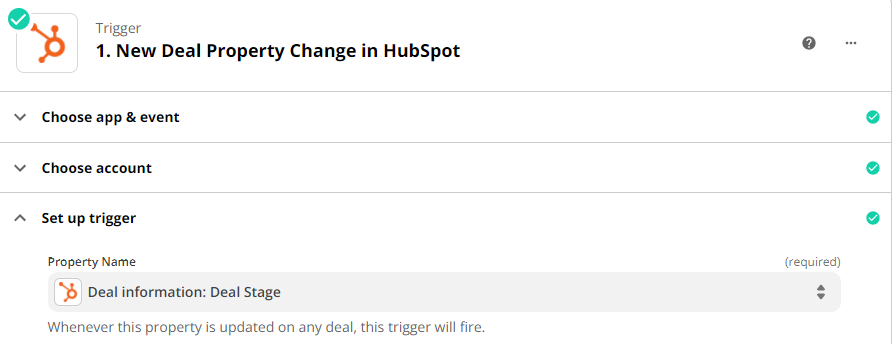
This will now trigger an event whenever the Deal Stage property changes on a deal in HubSpot.
Step 2: Only continue for Closed Won deals
Adding in a Zapier filter enables us to only progress when we deem a deal is won.

In this example we are checking the "Is Closed Won" property on the deal from Step 1 and ensuring this is set to true. You may wish to use your own logic here, for example only continuing if a deal has entered a specific deal stage.

Step 3: Get the Associated Company From HubSpot
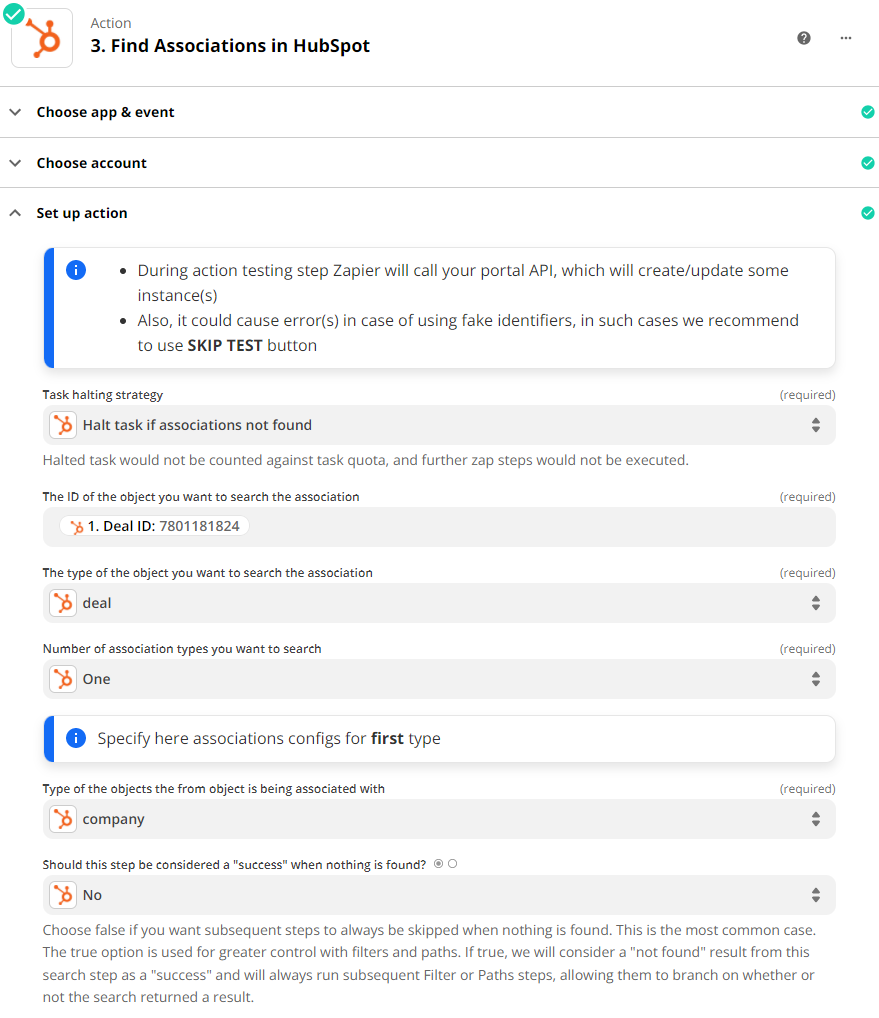
In order to create the new (or find the existing) Company in Projectworks, we need to find out the company information from HubSpot. We can do this through using HubSpot action "Find Associations".
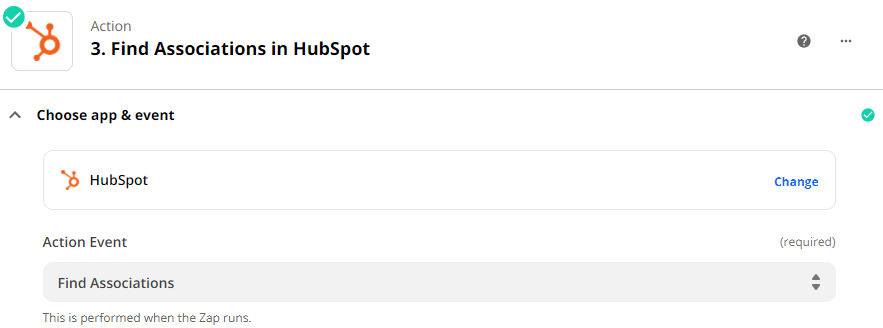
Then we want to specify the exact association we are looking for. First, we want to set the ID of the object we want to search on to be the Deal ID from Step 1. Next, we want to specify that this is a Deal, that we only want to return One association, and that the type of association we are looking for is a Company.
Step 4: Get the Company from HubSpot
We can now get the company in HubSpot using the information we found in Step 3.
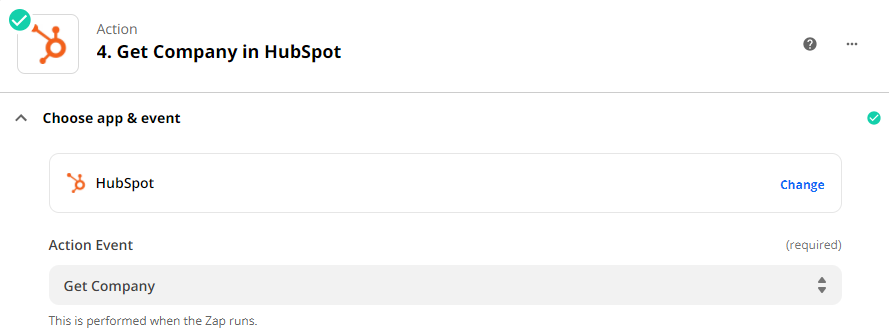
By setting the Company ID to the "Deal To Company" property we found in Step 3 this will allow us to get the company associated with the deal.

Step 5: Get Deal owner from HubSpot
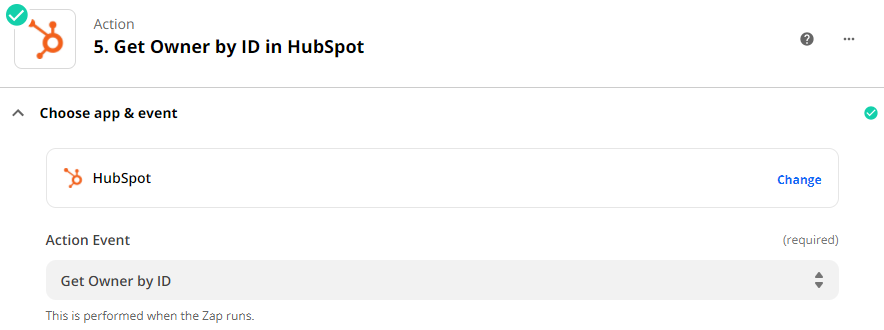
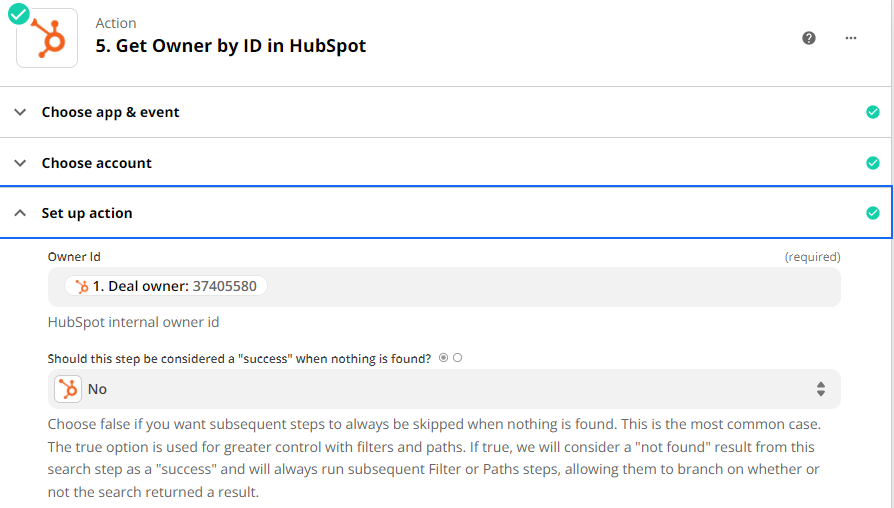
Next we need to get information on the Deal Owner from HubSpot so we can match it to the appropriate user in Projectworks. We can do this by using the HubSpot "Get Owner By ID" action.
By passing this action the "Deal Owner" property from the deal we found in Step 1, we can find the associated person in HubSpot.
Step 6: Find the Office (Organization) in Projectworks
Now that we have what we need from HubSpot we can start getting the information we need from Projectworks in order to create a new project. The first step is finding what Office (Organization) we want to associate the new project with.
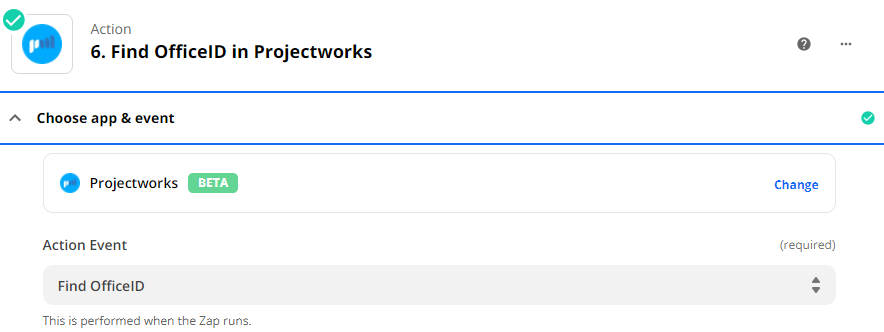
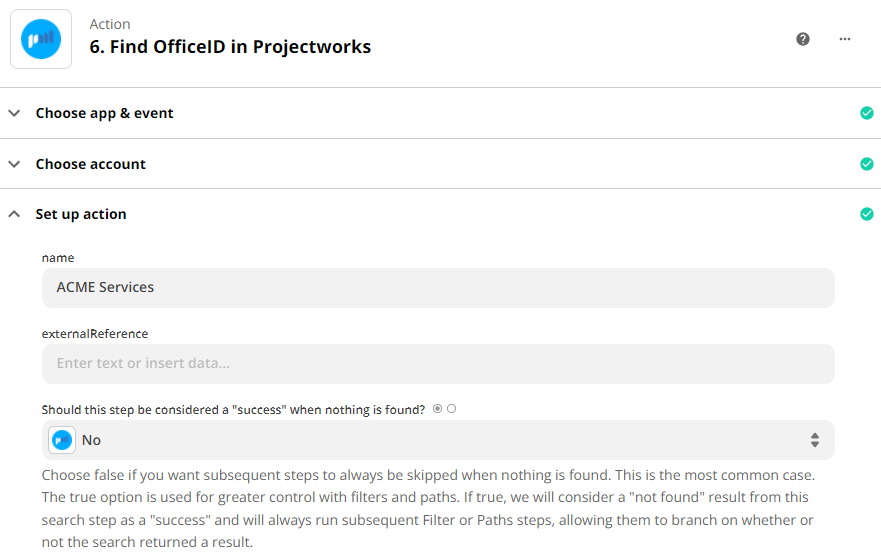
In this example we are going to associate all new projects and companies that come from HubSpot with a fixed organization in Projectworks. You are welcome to add your own additional steps here if you have multiple organizations and want to specify which organization based on your own logic (for example, a custom property in HubSpot).
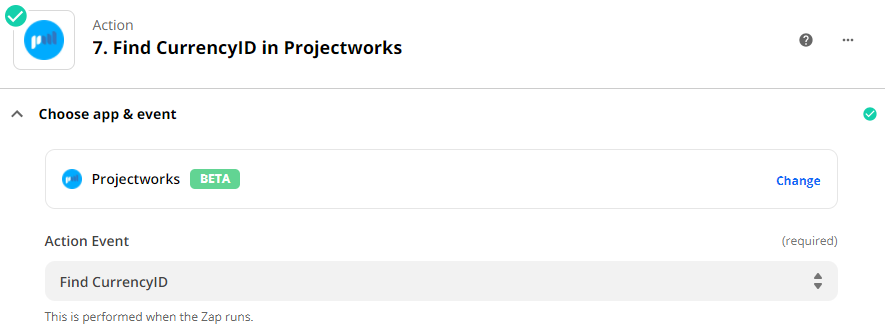
Step 7: Find the Currency in Projectworks
The next step is to determine what currency we want to create the new project in. We can use the "Find CurrencyID" action in Projectworks to help achieve this.
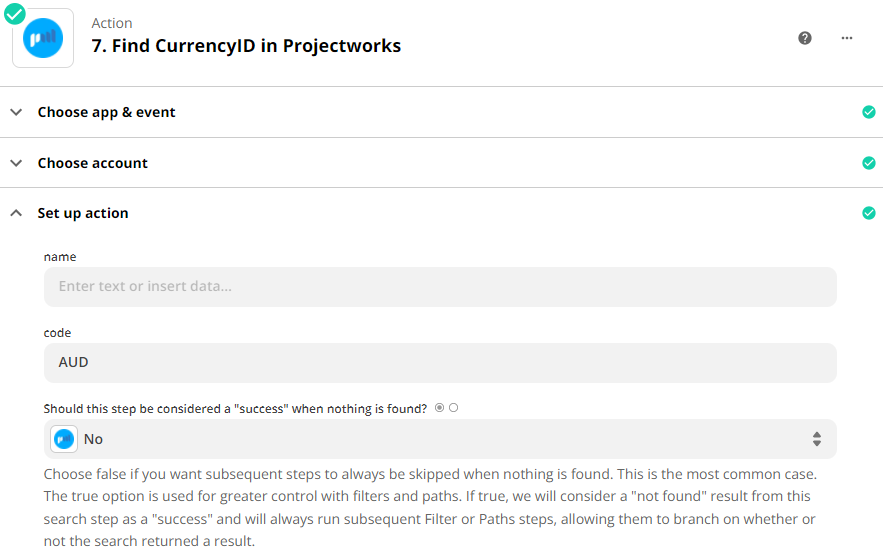
For the purposes of simplicity, in this example we are going to set all new projects to be in Australian Dollars. If you operate in multiple currencies in HubSpot and Projectworks you can take the associated currency code from the deal returned in Step 1 and pass that through to the "Find CurrencyID" action instead.
Step 8: Find the Associated User in Projectworks
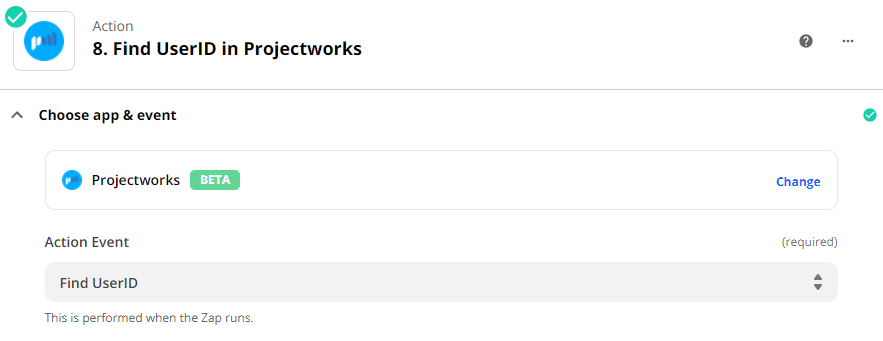
Next, we need to determine which user to associate the new Project with in Projectworks. We can determine this by using the "Find UserID" Projectworks action.
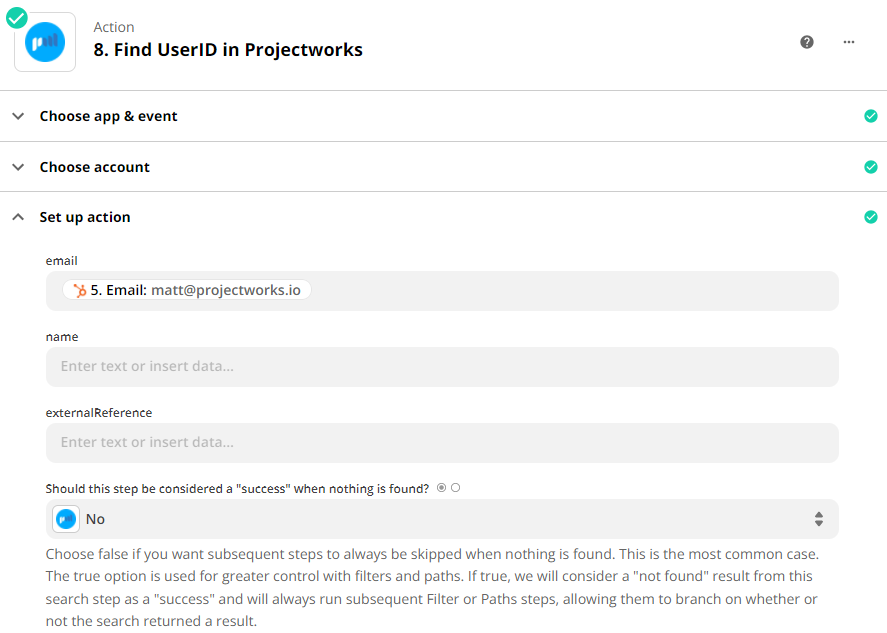
The most reliable way to do this is by passing through the email address of the HubSpot user we returned in Step 5.
Step 9: Find the Company in Projectworks
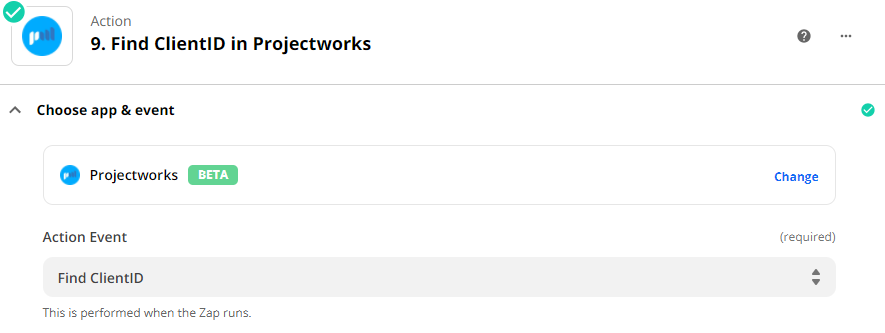
We can now try and locate if the company already exists in Projectworks. Whether we locate a company or not will determine the next step. If the company does not exist then we first need to create it. The "Find ClientID" Projectworks action is what we will use to achieve this.
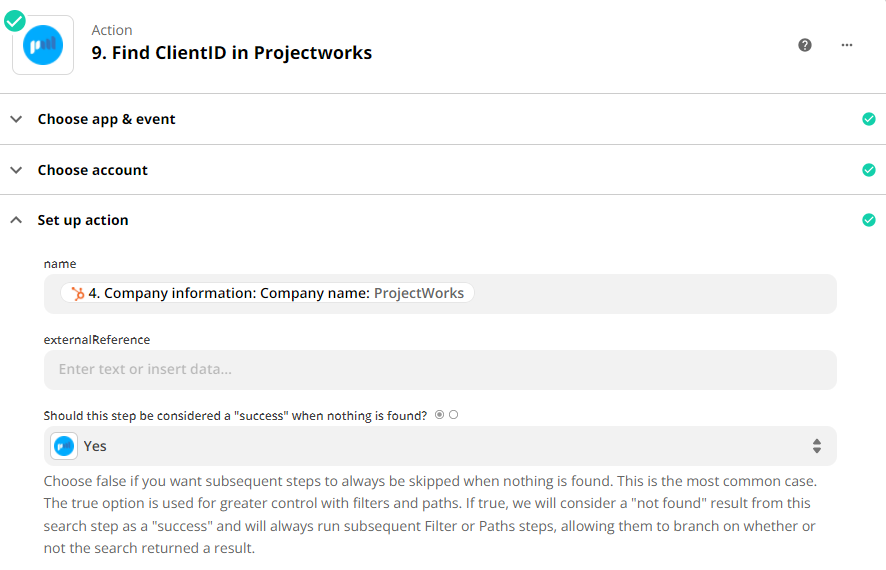
By passing through the "Company Information: Company Name" property from the Company that we returned in Step 4 we can search for the company in Projectworks.
Step 10: Create a Zapier Path to Determine our Next Step
Create a Zapier Path with two possible outcomes. Name the first one "Create Client and Project", name the second one "Create Project Only".

For the "Create Client and Project" path, under the "Rules setup & testing" header create a rule that will only allow the flow to continue if the "Client Name" from Step 9 does not exist. We will come back and add the additional steps in this flow shortly.
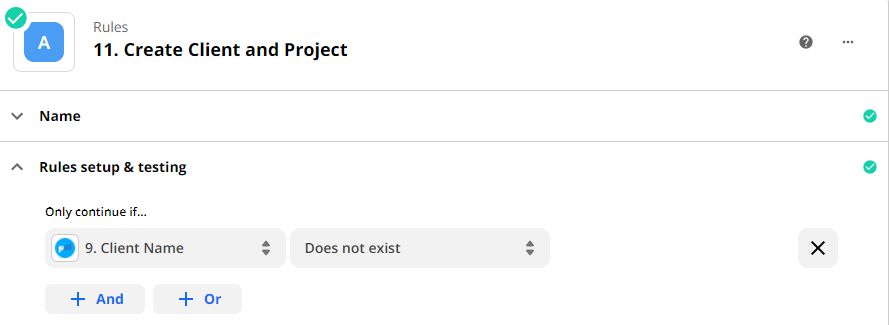
For the "Create Project Only" path, under the "Rules setup & testing" header create a rule that will only continue if the "Client Name" from step 9 does exist (i.e. the opposite of the first path).

Step 12: Create the Customer in Projectworks
Open the first path that was created "Create Client and Project" and add a new Projectworks "Create Company" action
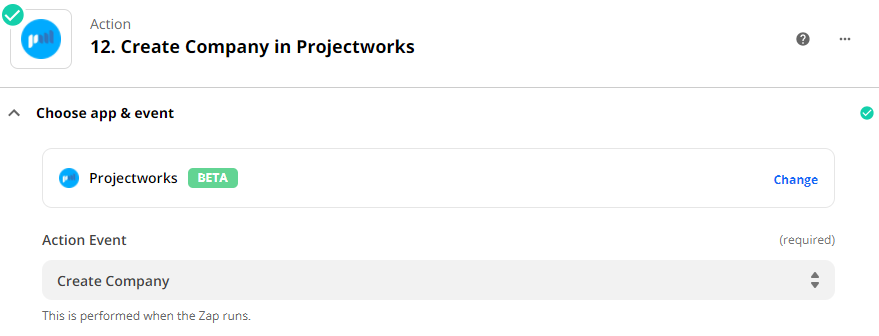
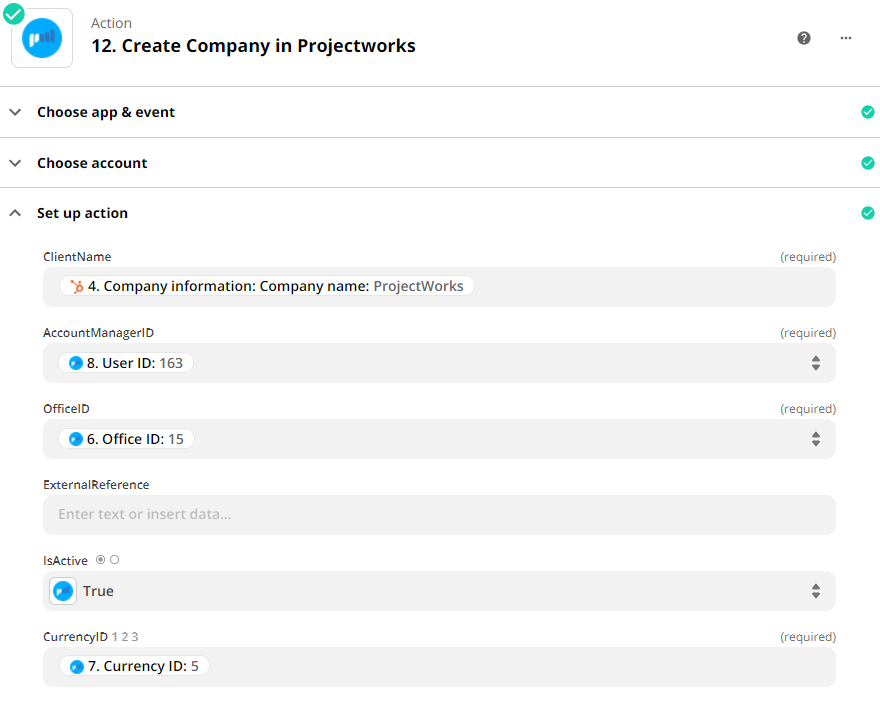
We can now pass through the information we have gained from previous steps to create the company in Projectworks:
- Pass through the company name from the HubSpot company that was returned in Step 4
- Pass through the Account Manager as the User ID from the User that was returned in Step 8
- Pass through the Office ID from the Office that was returned in Step 6.
- Set IsActive to True.
- Pass through the Currency ID from the Currency that was returned in Step 7.
Step 13: Create the Project in Projectworks
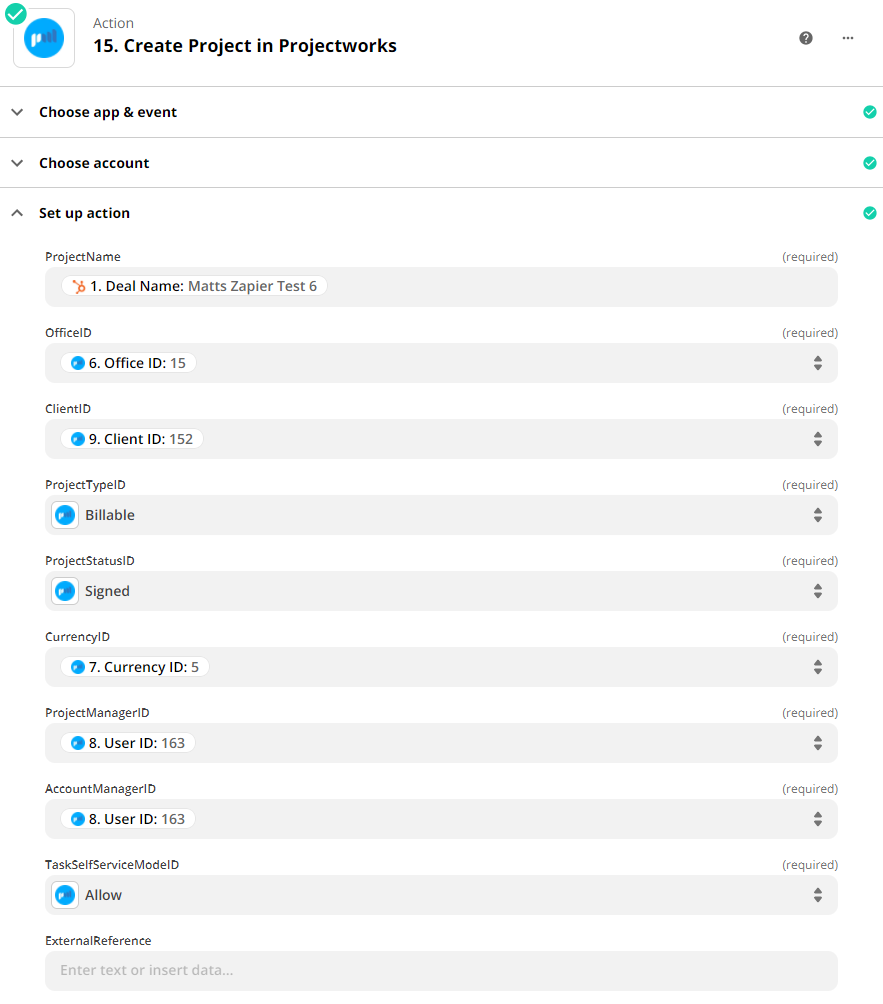
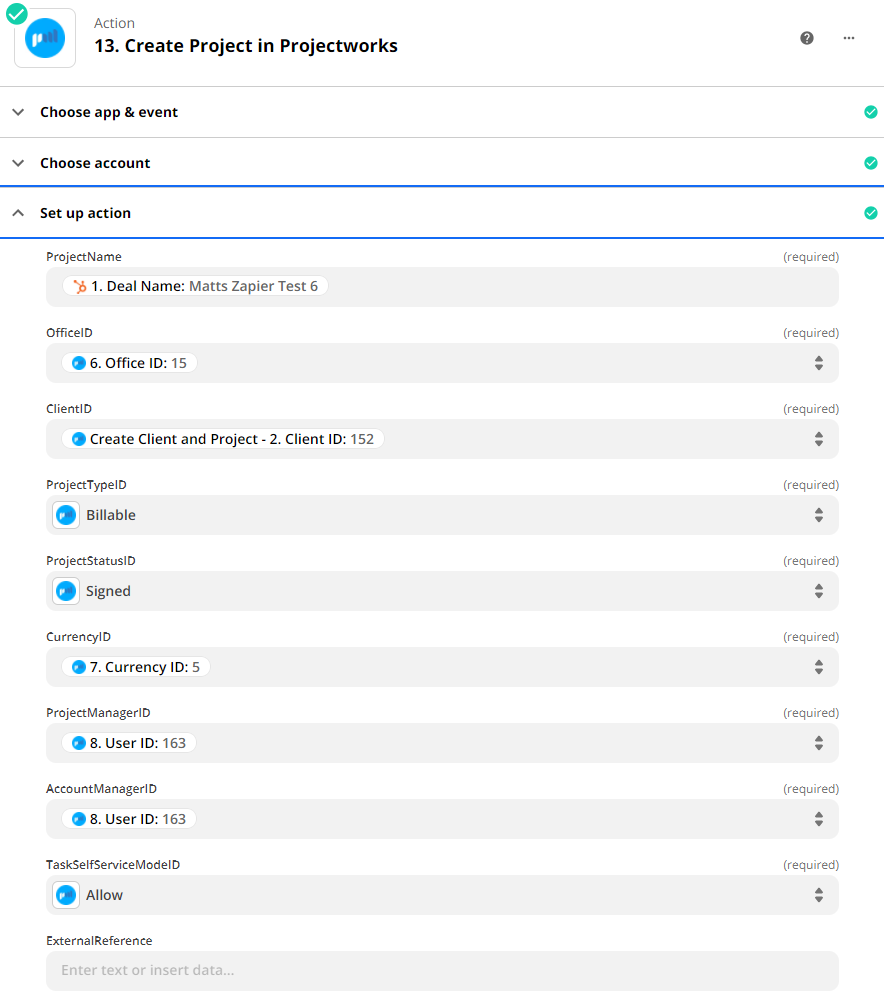
We can now create the new Project in Projectworks. Add a new Projectworks "Create Project" action.
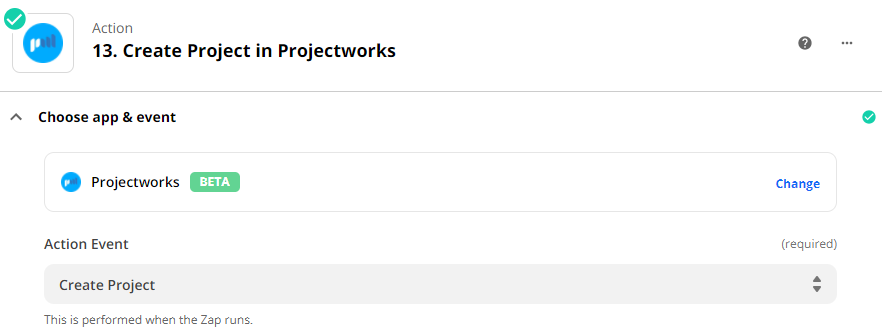
We can now pass through all the Project information we have acquired over the previous steps. Set the Project name to be the deal name that was returned in Step 1. Set the Office ID to be the Office ID that was returned from Step 6. Set the Client ID to be the Client ID of the Client that was created in the previous step. Choose if you want new projects to be set as billable and what status they should default to. Set the Currency ID to the Currency located in Step 7, and the Project Manager and Account Manager IDs to be the User IDs returned in Step 8.
Step 14: Setup Create Project Only Path
You can now return to the second path that was created at Step 10 to create a project in the case where we already have a Company setup in Projectworks.

Step 15: Create the Project in Projectworks
This is the same action we used in Step 13.
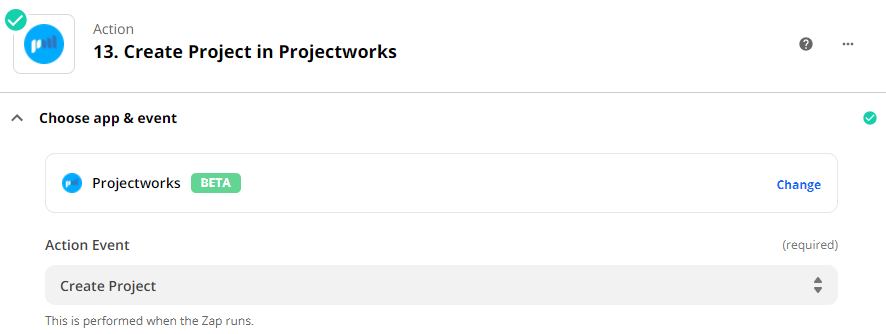
We can now create the Project in Projectworks but we instead use the ID from the Client we returned in Step 9 (the ID of the existing Client).
